Common Mistakes in DIY Tile Installation and How to Avoid Them


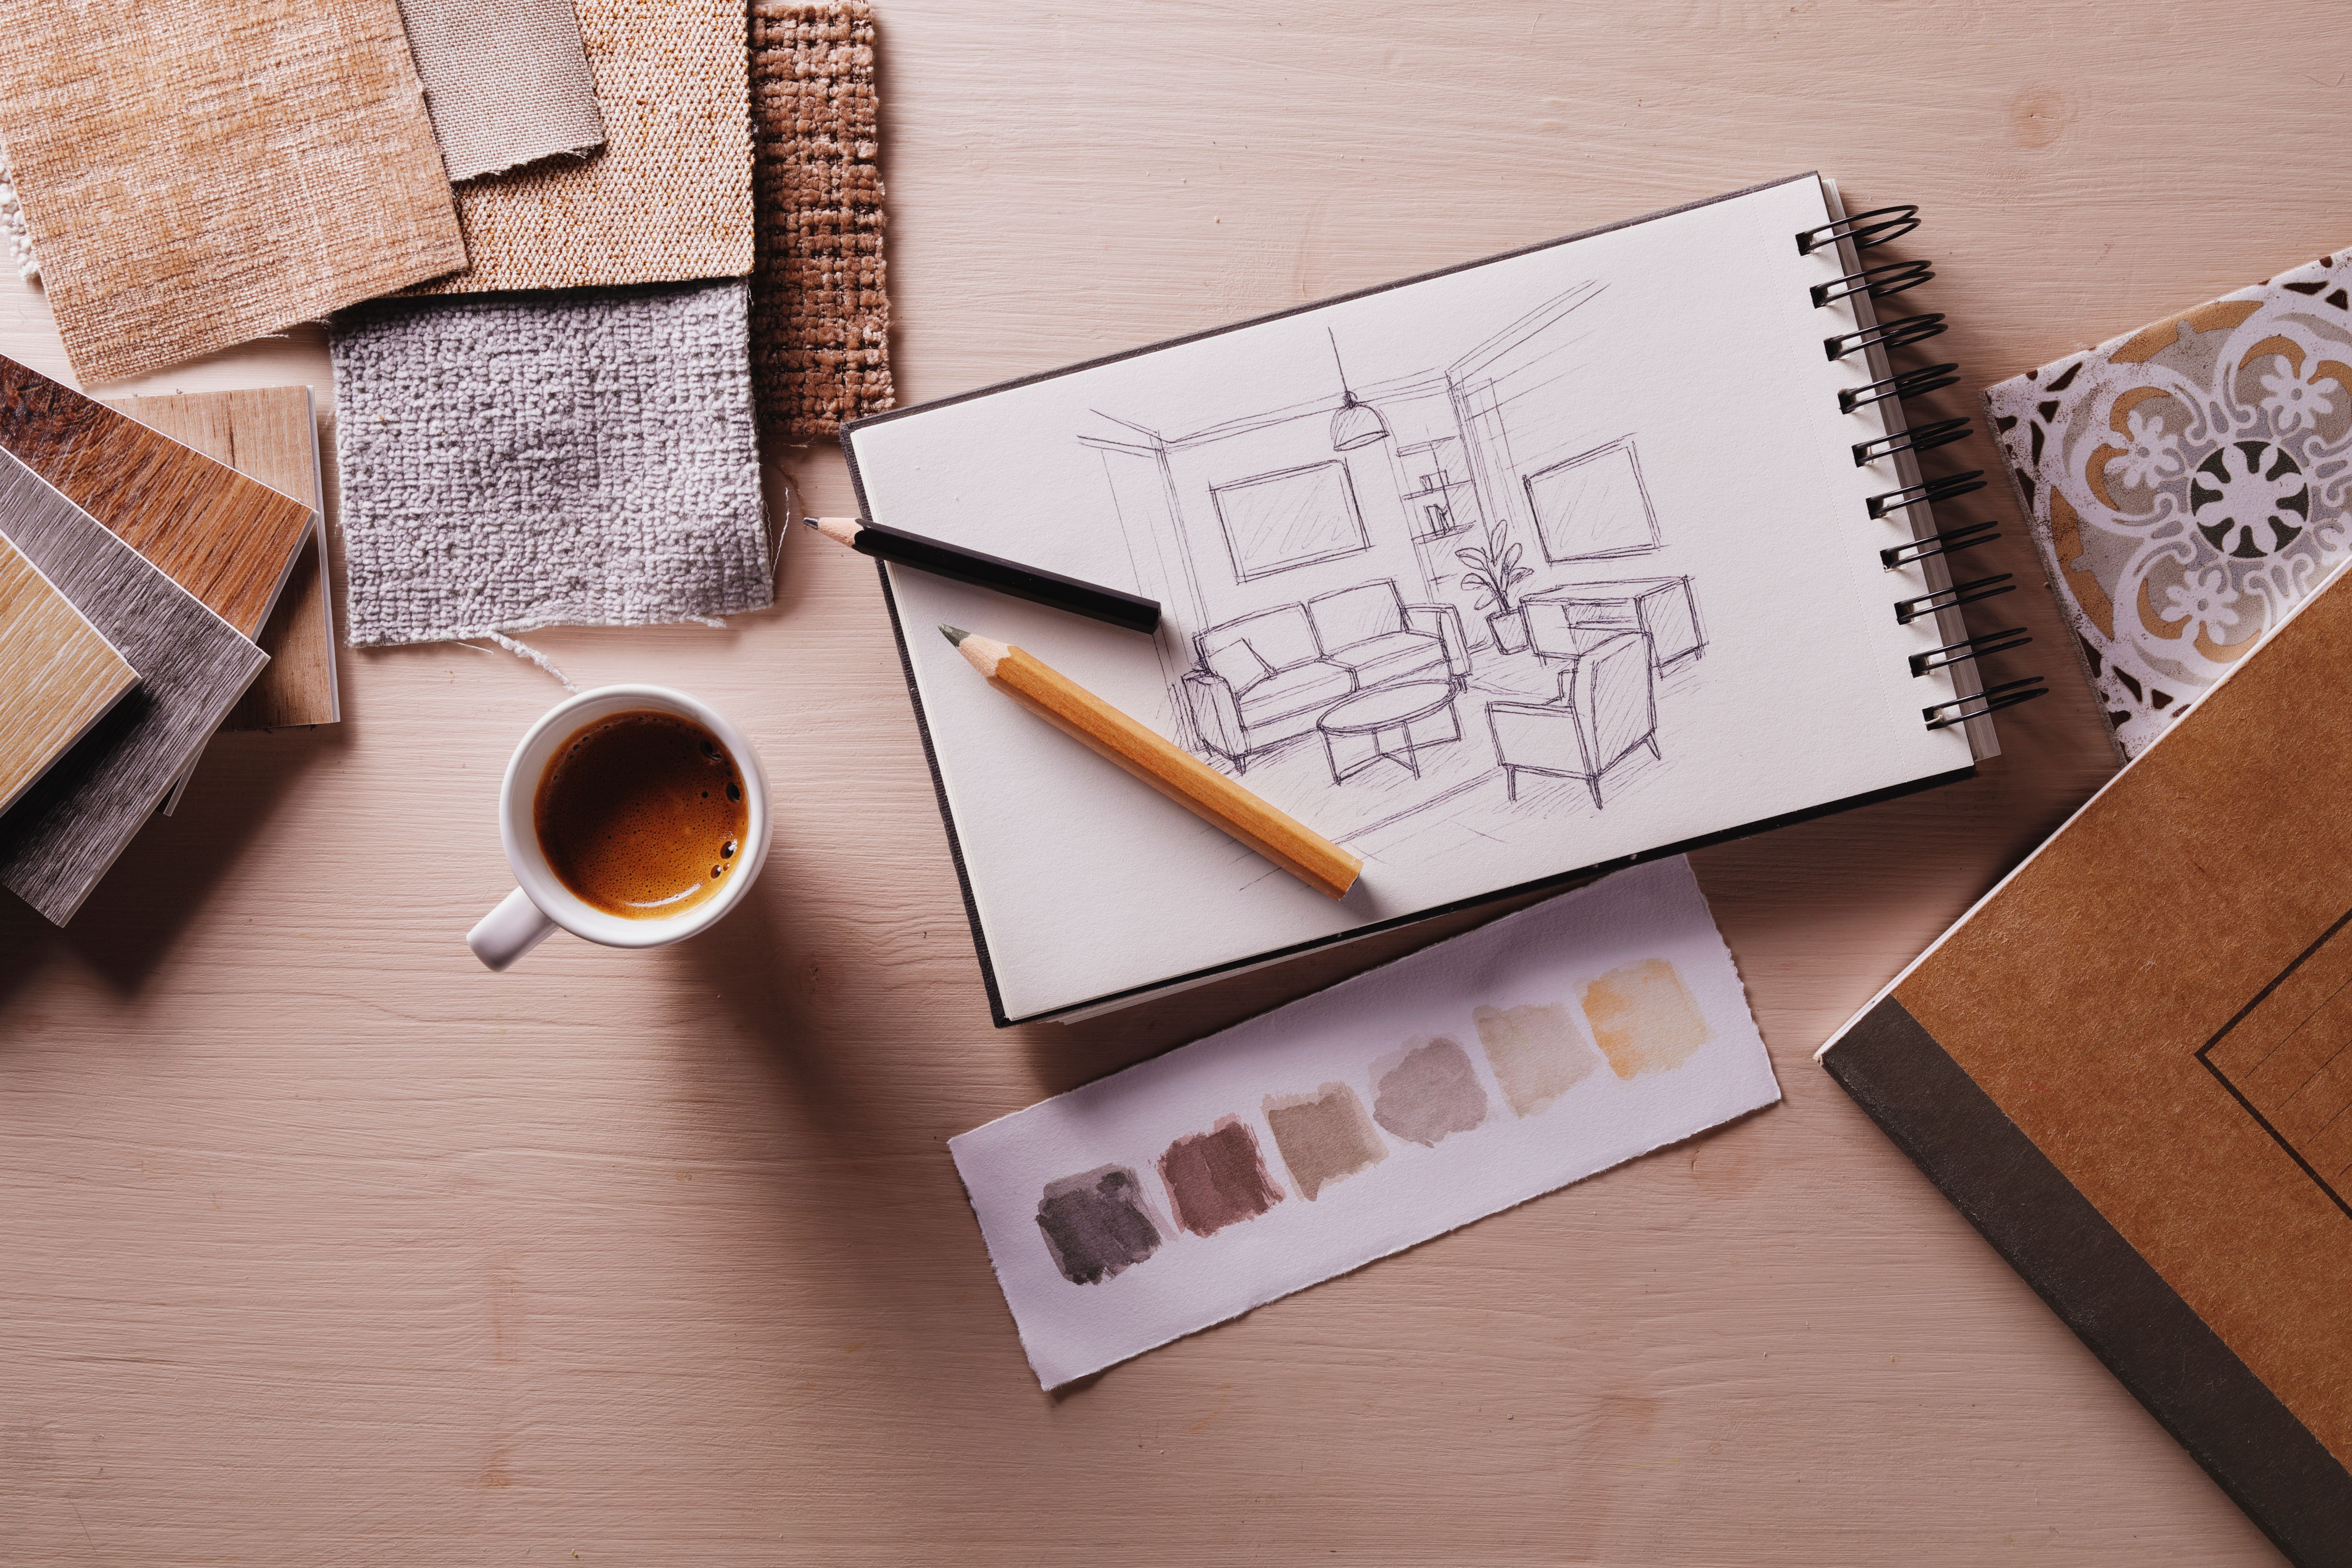
Choosing the Wrong Type of Tile
One of the most common mistakes in DIY tile installation is selecting the wrong type of tile for the specific area. Tiles come in various materials, such as ceramic, porcelain, and stone, each suited for different environments. Ceramic tiles are great for walls but may not withstand heavy foot traffic. On the other hand, porcelain tiles are more durable and suitable for floors.
To avoid this mistake, carefully consider the room's purpose and conditions. For instance, if you're tiling a bathroom, choose tiles with a high water resistance rating. Consulting with a tile expert can also provide valuable insights into the best options for your project.
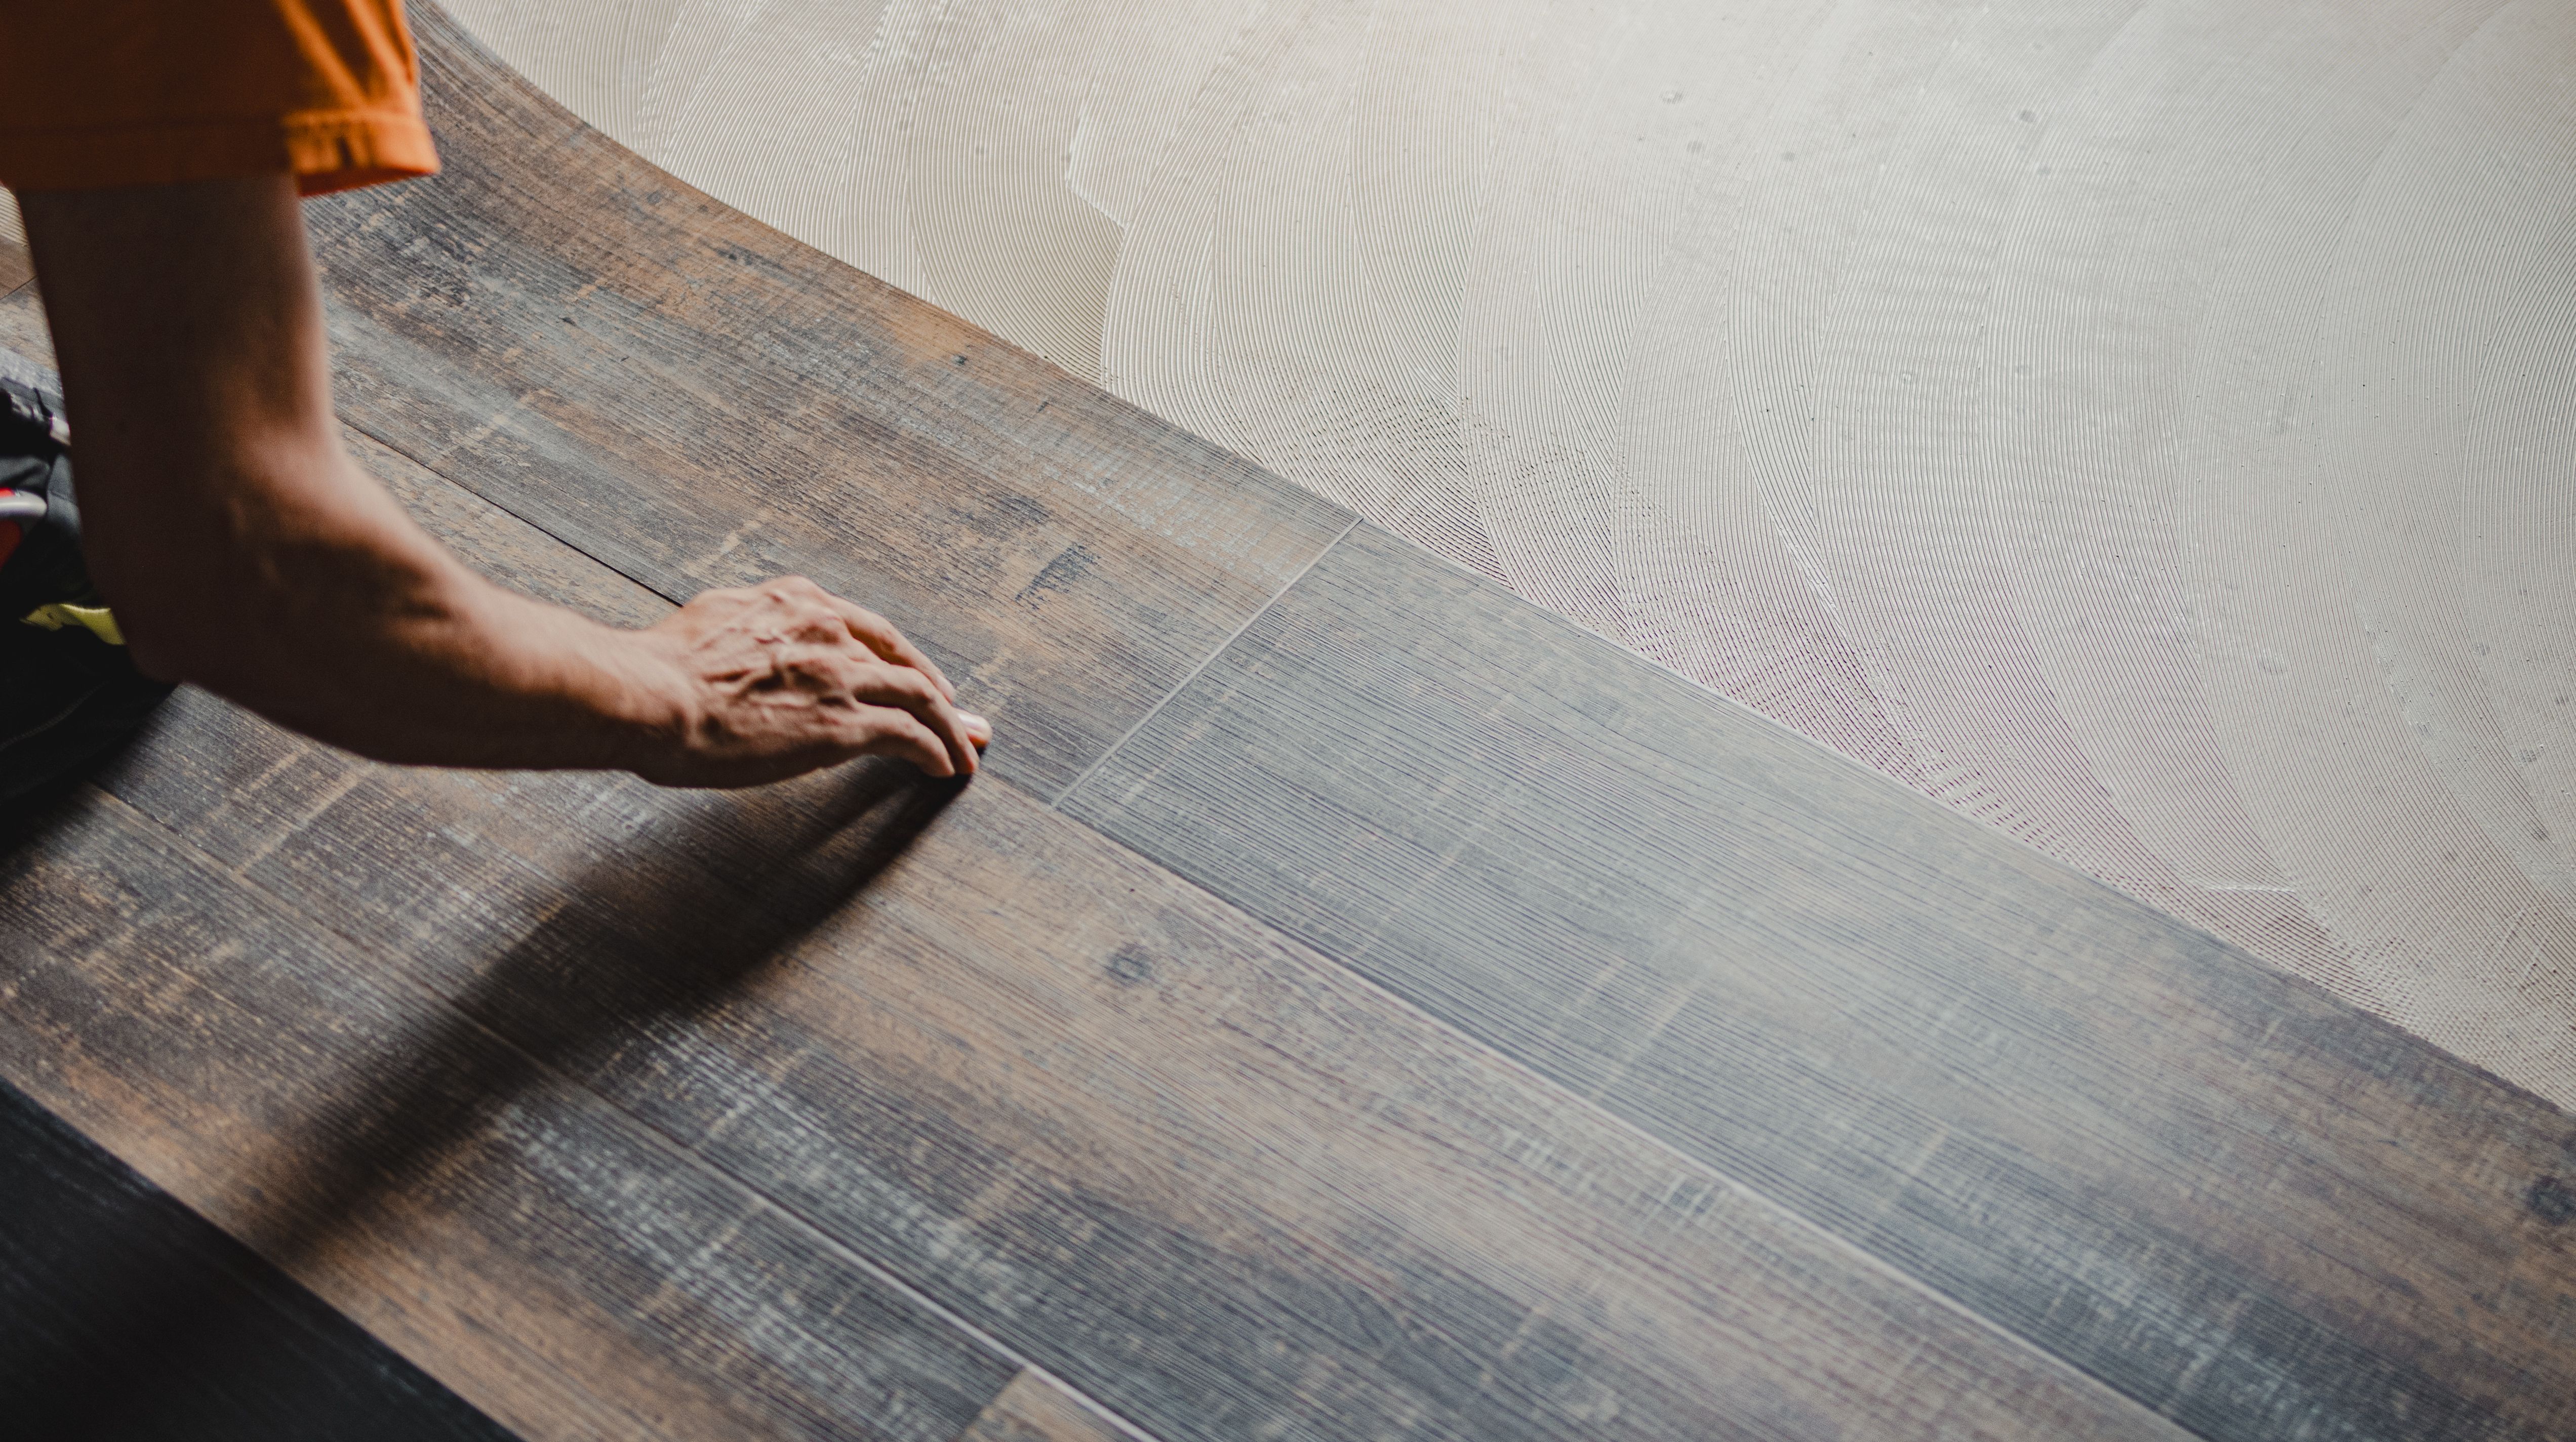
Improper Surface Preparation
Another frequent error is neglecting proper surface preparation. Tiles need a clean, flat, and stable surface to adhere correctly. Failing to prepare the surface can lead to uneven tiles and even cause them to crack or come loose over time.
Start by cleaning the area thoroughly, removing any dust, grease, or old adhesive. If the surface isn't level, use a self-leveling compound to achieve a smooth base. This step is crucial for ensuring your tiles lay flat and have a long-lasting finish.
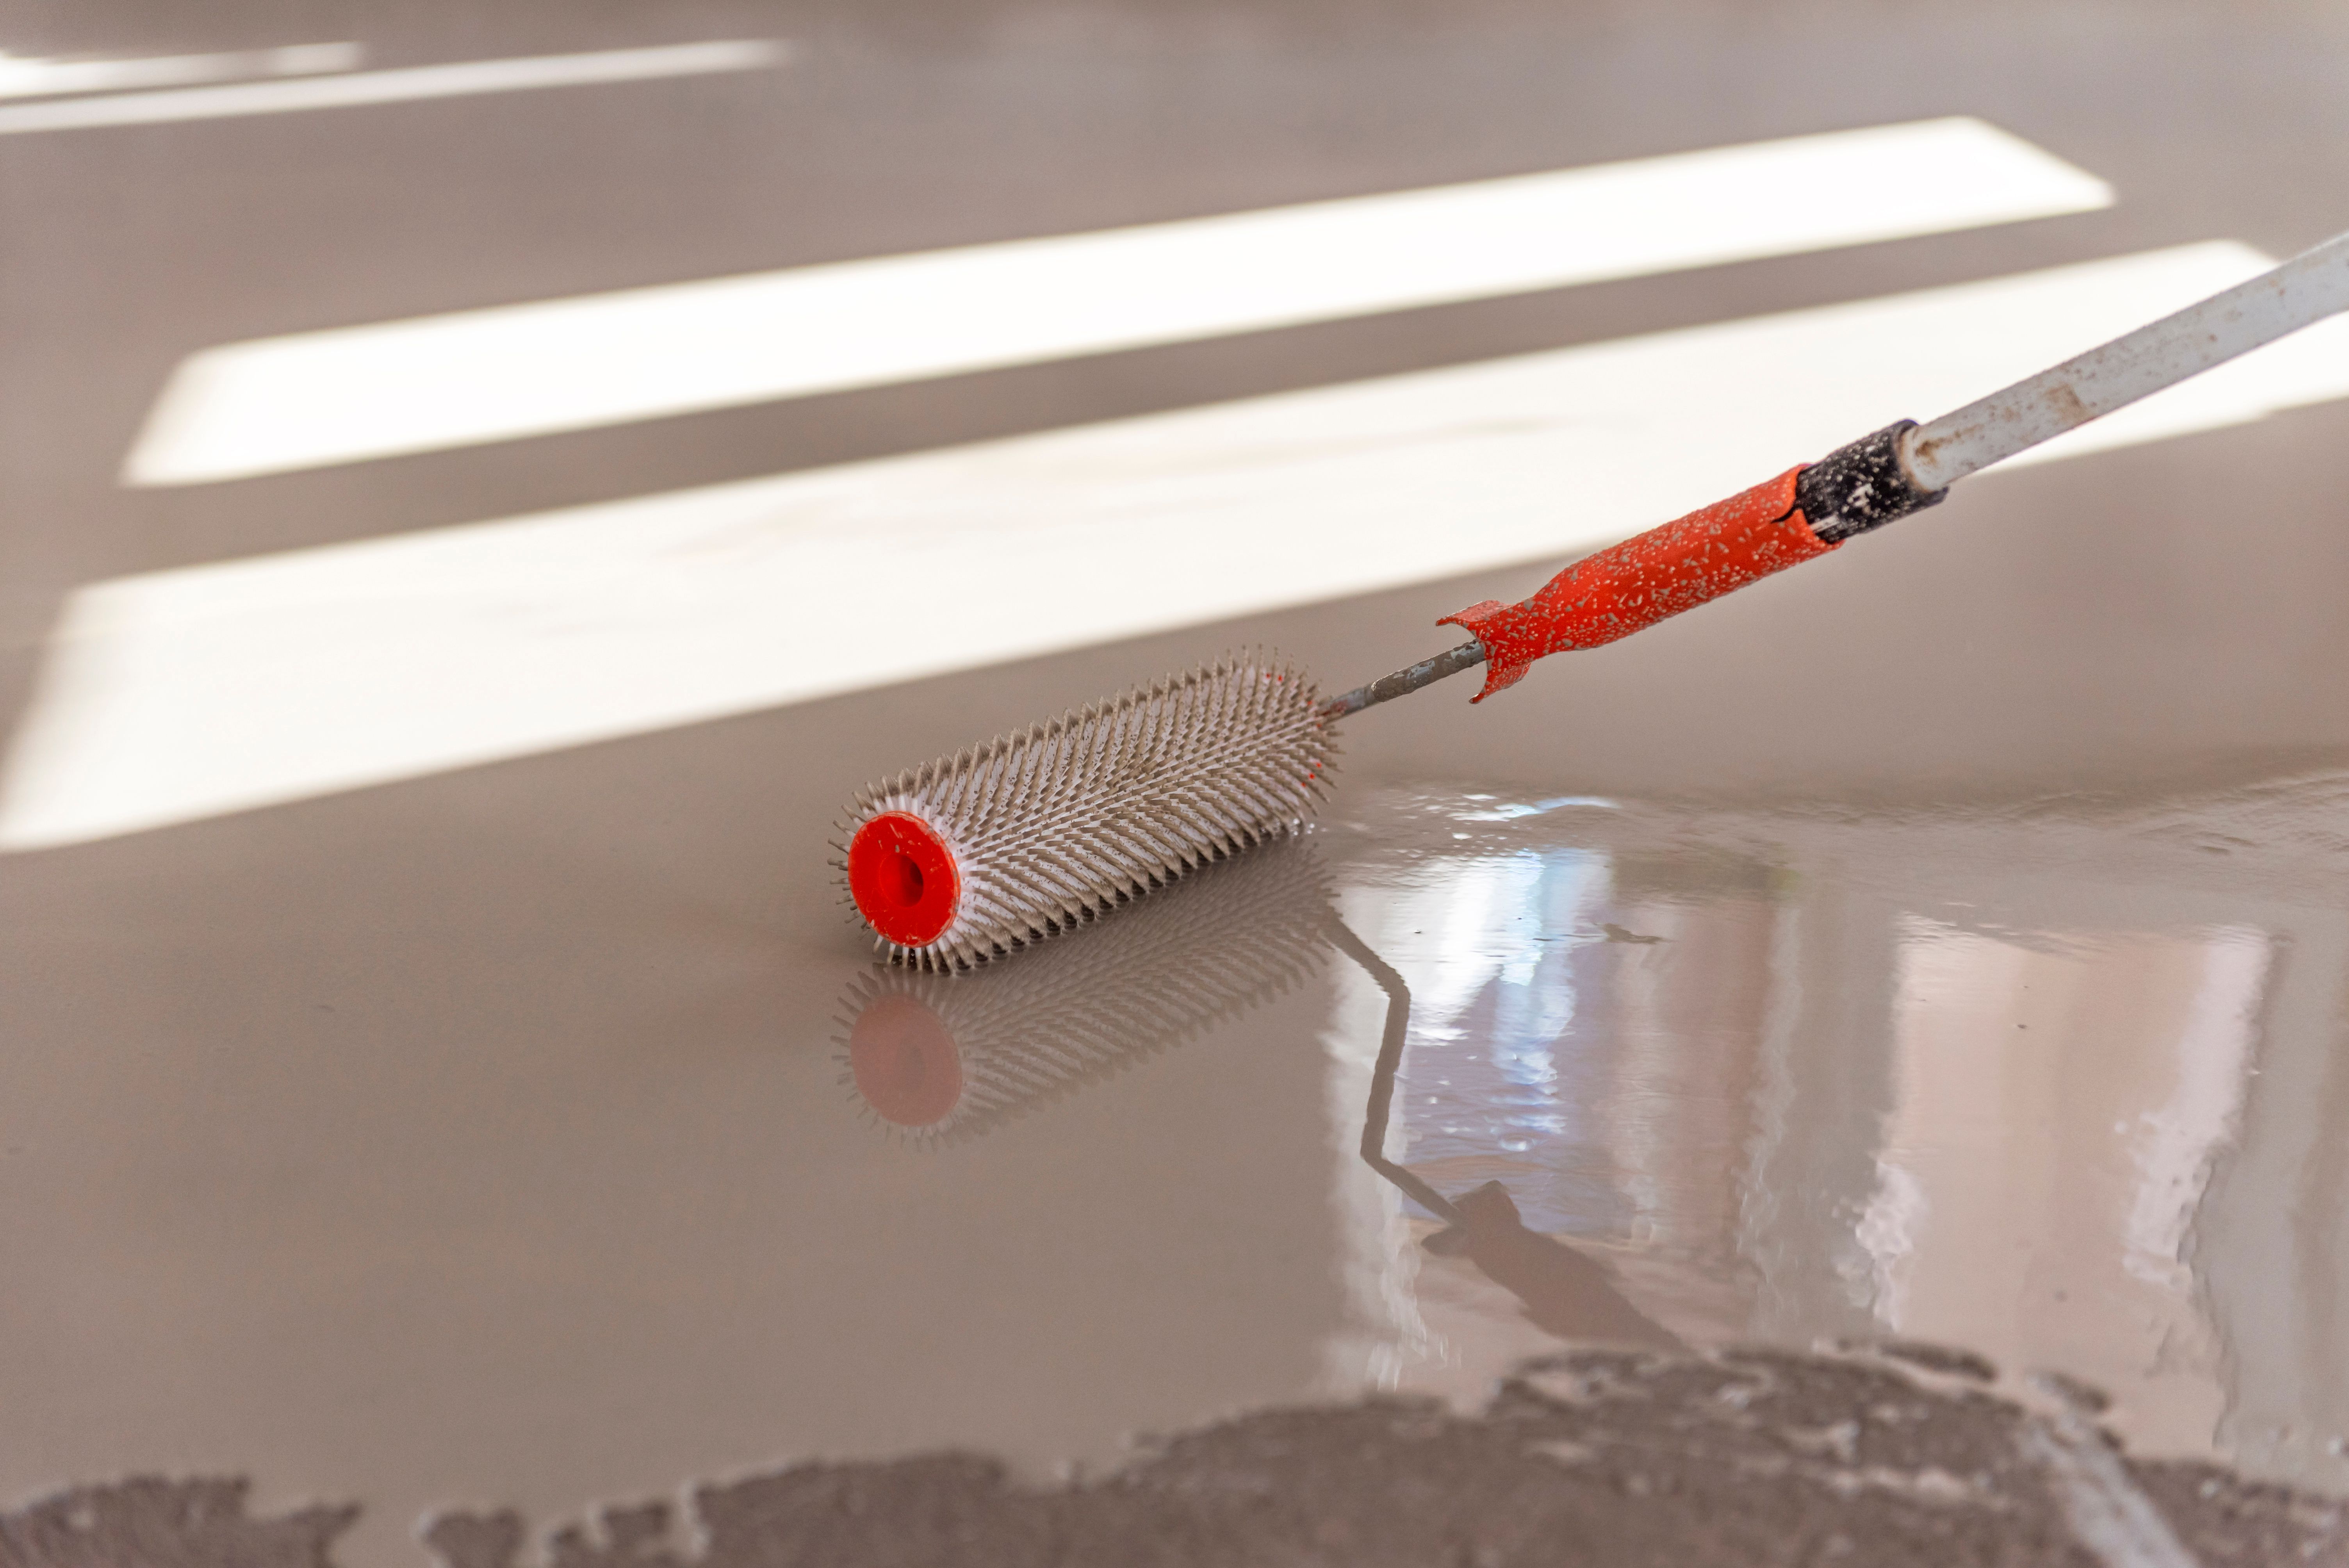
Incorrect Adhesive Application
Using the wrong adhesive or applying it incorrectly can lead to tile instability and eventual failure. Each type of tile has a specific adhesive requirement that must be followed. Additionally, improper application of adhesive can result in poor bonding.
Ensure you use the recommended adhesive for your chosen tiles and follow the manufacturer's instructions carefully. Apply the adhesive evenly using a notched trowel, ensuring full coverage on both the tile and surface for maximum adhesion.
Ignoring Tile Spacing and Alignment
Proper spacing and alignment are critical for achieving a professional-looking tile installation. DIY enthusiasts often overlook the importance of consistent grout lines and even spacing, leading to an uneven appearance.
Use tile spacers to maintain uniform gaps between tiles. Regularly check alignment with a level or straightedge throughout the installation process. Taking your time to align each tile will pay off in a visually appealing and durable finish.
Failing to Seal Tiles and Grout
Sealing tiles and grout is an essential step that many DIYers skip, leaving their installation vulnerable to moisture and stains. This is particularly important for porous materials like stone and unglazed ceramic tiles.
Apply a high-quality sealant after the grout has cured completely. This will protect your tiles from water damage and make them easier to clean. Regular maintenance sealing is also recommended to extend the lifespan of your tile installation.
Rushing the Curing Process
Patience is key in tile installation. Rushing through the curing process can compromise the integrity of your work. Adhesive and grout need adequate time to cure fully before being exposed to regular use or moisture.
Always follow the manufacturer's recommended curing times, which can vary depending on environmental conditions. Allowing sufficient time for the materials to set will ensure your tiles remain secure and durable.
Lack of Essential Tools
Many DIYers attempt tile installation without investing in the right tools, leading to frustration and subpar results. Essential tools like a tile cutter, trowel, level, and spacers are necessary for precise and efficient work.
If purchasing tools isn't feasible, consider renting them from a local hardware store. Having the proper tools on hand will make your project smoother and more professional-looking.
Conclusion
Avoiding these common mistakes in DIY tile installation requires careful planning, attention to detail, and patience. By choosing the right materials, preparing surfaces correctly, and following best practices, you can achieve a successful tiling project that enhances your space's aesthetic appeal and functionality.