Step-by-Step Guide to Installing Light Fixtures Safely


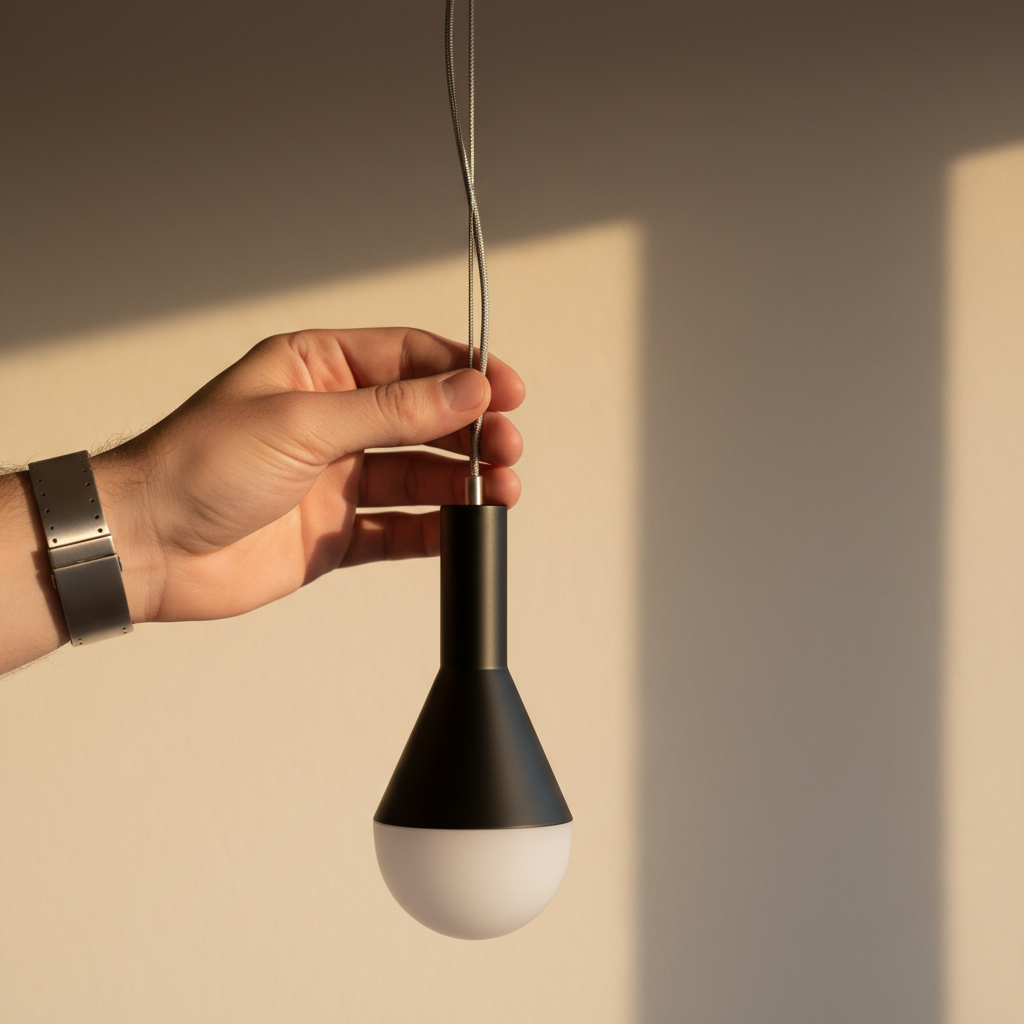
Understanding Your Light Fixture
Before diving into the installation process, it's crucial to understand the type of light fixture you are working with. Light fixtures come in various forms, such as chandeliers, wall sconces, and ceiling mounts. Each requires a slightly different approach. Make sure you have all the necessary components, including the fixture itself, mounting hardware, and the appropriate bulbs.
Additionally, check the weight and size of your fixture. If it’s heavy, you might need additional support or help during installation. Knowing these details will ensure that you are prepared and can avoid any potential mishaps.
Gathering the Required Tools
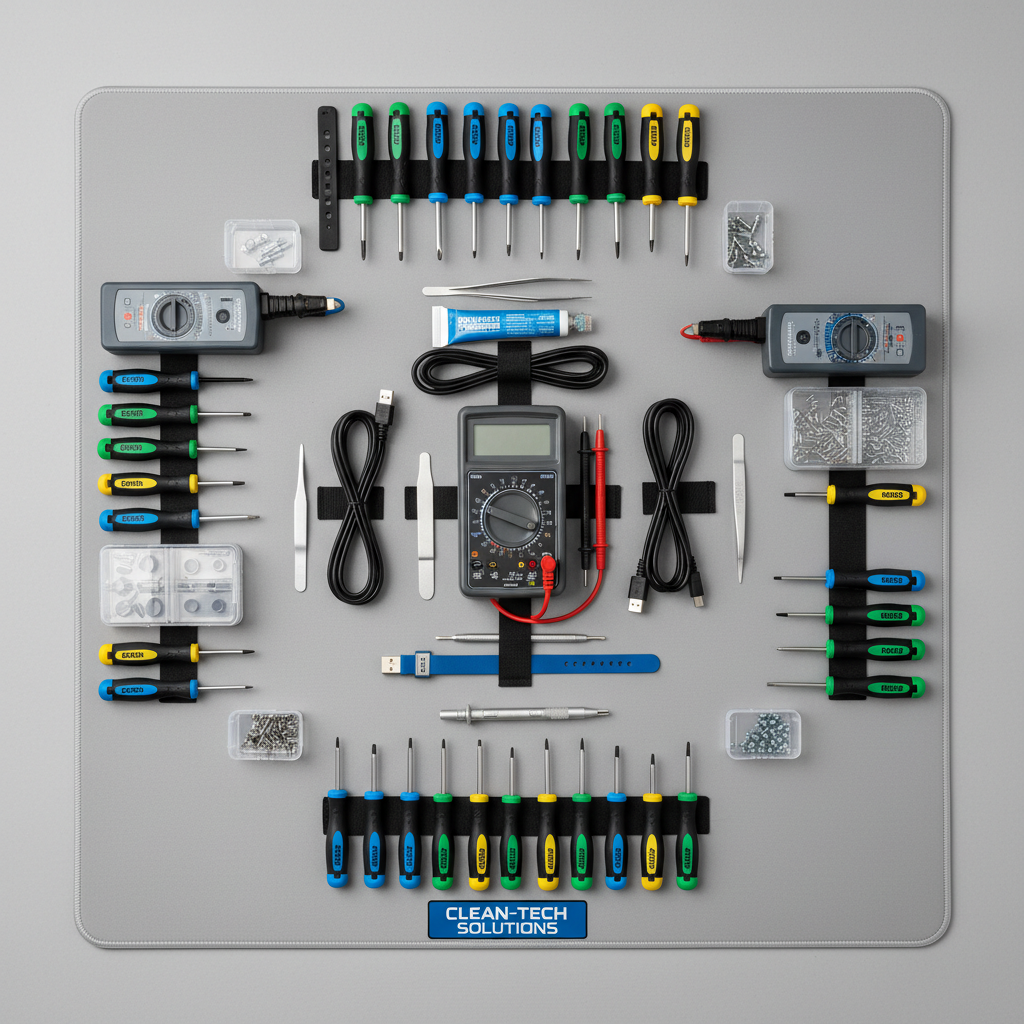
Having the right tools on hand will make your installation process smooth and efficient. Typically, you will need a screwdriver, wire strippers, a voltage tester, and possibly a ladder if the fixture is out of reach. A drill may also be required for some installations, especially if new holes need to be made in the ceiling or wall.
Ensure all tools are in good working condition to prevent any delays or accidents. It's a good idea to have a small container to hold screws and other small parts that can easily get lost during the installation process.
Ensuring Safety First
Safety is paramount when dealing with electrical components. Before you begin, turn off the power to the light fixture at the circuit breaker. Verify that the power is off using a voltage tester. This step cannot be overstated, as working with live wires can lead to serious injury or even be fatal.
Additionally, wear rubber-soled shoes and try to stand on a non-conductive surface if possible. These precautions will reduce the risk of electrical shock during installation.
Removing the Old Fixture
Once safety measures are in place, carefully remove the old fixture. This usually involves unscrewing the fixture from its mount and disconnecting the wires. Keep track of how the old fixture was wired, as this will help you install the new one.
Place the old fixture aside, along with any screws or mounting hardware that won't be reused. Clean the area where the new fixture will be installed, removing any dust or debris.
Installing the New Fixture
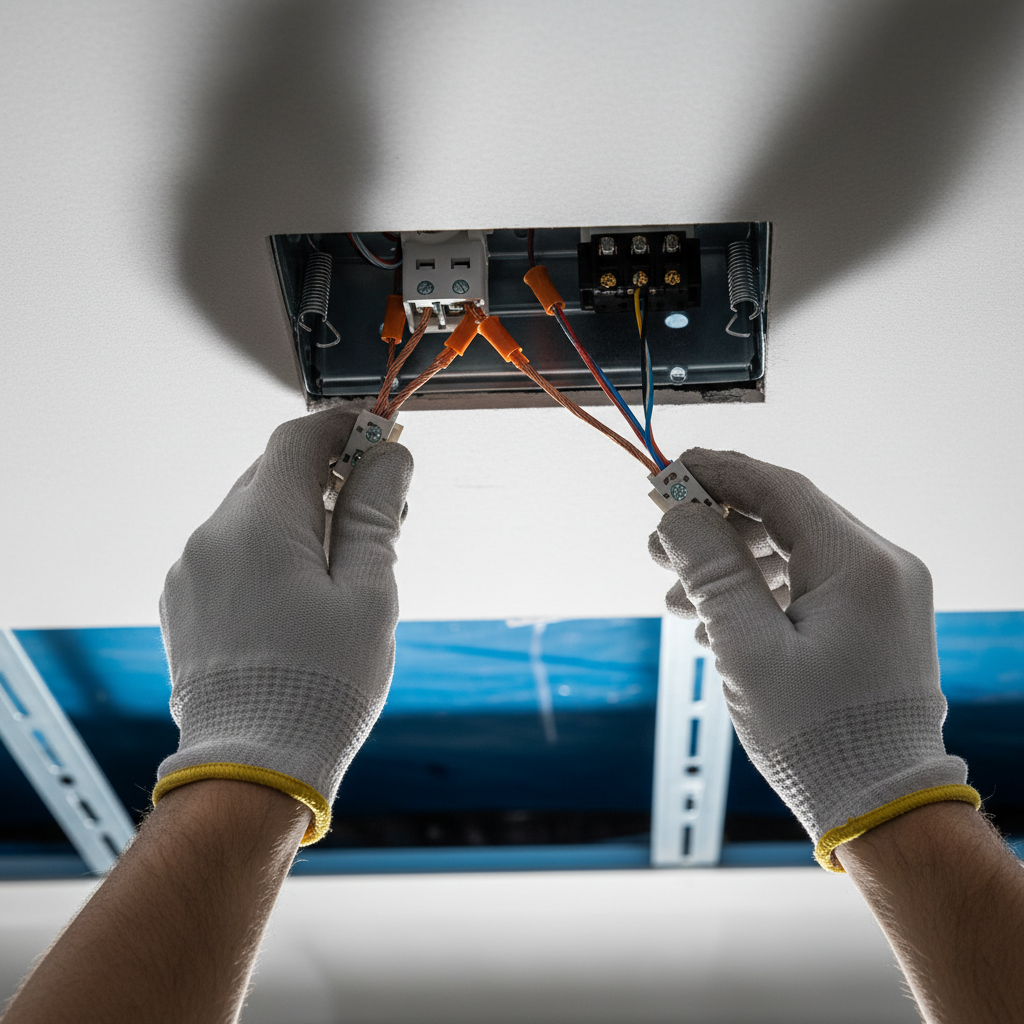
Begin by attaching the mounting bracket that comes with your new light fixture to the electrical box. Make sure it is secure, as it will need to support the weight of the fixture. Next, connect the wires from the light fixture to the corresponding wires in the electrical box. Typically, this will involve matching colors: black to black, white to white, and the ground wire to the green or bare copper wire.
Once the wires are connected, carefully tuck them into the electrical box and attach the fixture to the mounting bracket. Secure it with the provided screws, ensuring it is snug and level.
Testing and Final Adjustments
With the fixture securely in place, restore power at the circuit breaker and test the light. If it doesn't turn on, double-check the wiring connections and ensure the bulb is properly installed and functional.
If everything works as expected, make any final adjustments to the fixture's alignment or angle to achieve the desired look. Clean the fixture to remove any fingerprints or smudges left during installation.
Conclusion
Installing a light fixture can seem daunting, but by following these steps and taking appropriate safety precautions, you can complete the task efficiently and safely. Remember, if at any point you feel unsure or uncomfortable, it is wise to consult a professional electrician.
With your new light fixture installed, enjoy the enhanced ambiance and functionality it brings to your space. The right lighting can truly transform a room, making it more welcoming and enjoyable.